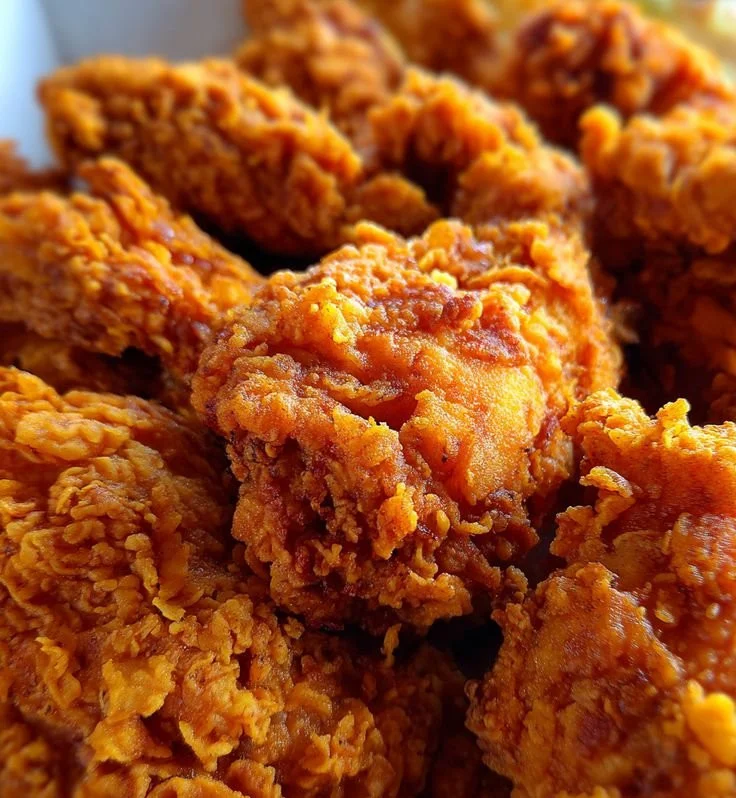
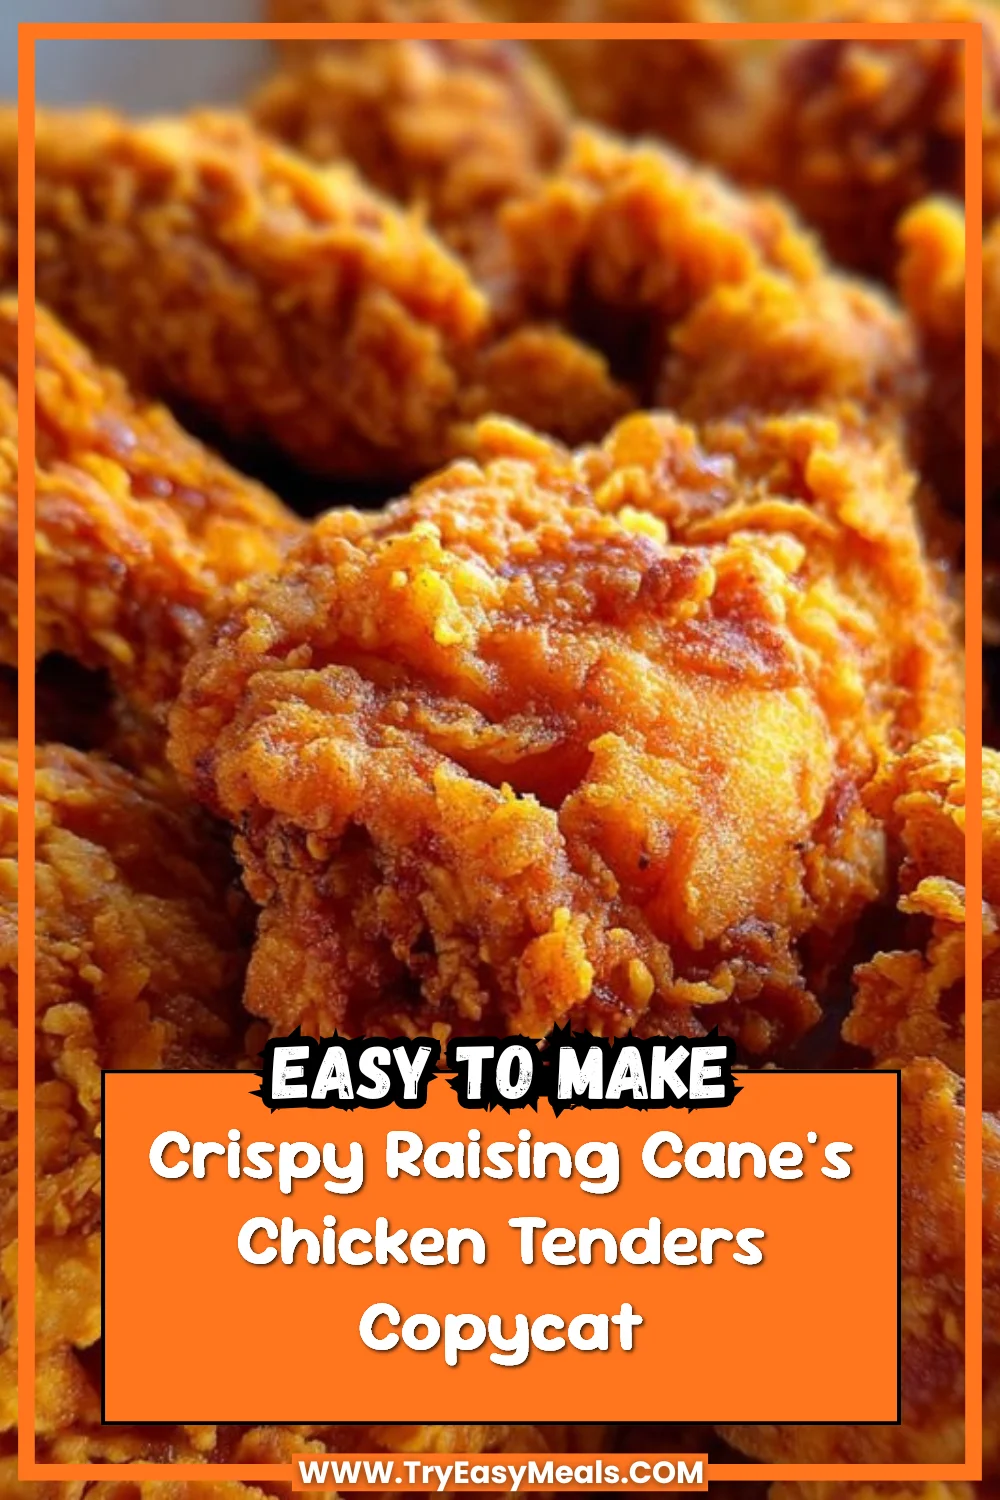
Making crispy Raising Cane’s chicken tenders at home is a delicious way to enjoy this beloved fast food classic. Packed with flavor and a satisfying crunch, these tenders are perfect for weeknight dinners, family gatherings, or even meal prep. With simple ingredients and straightforward techniques, you can easily whip up these delightful bites that everyone will love.
Why You’ll Love Crispy Raising Cane’s Chicken Tenders
- Easy to Make: This recipe uses accessible ingredients and simple techniques, making it perfect for beginner cooks.
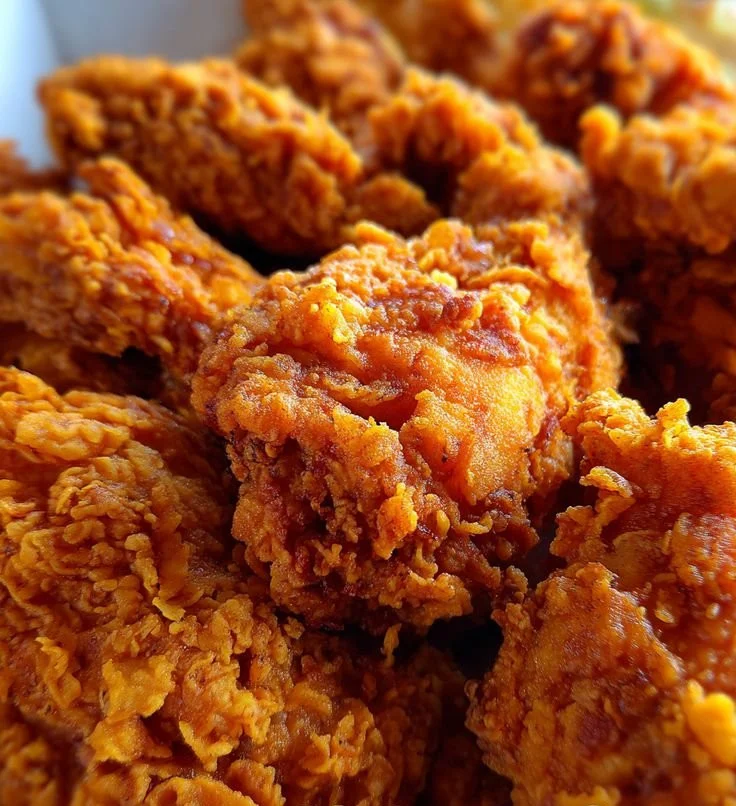
- Crispy Texture: The buttermilk marinade and seasoned flour coating create a delectable crunch that mimics your favorite fast-food experience.
- Family-Approved: These chicken tenders are sure to please both kids and adults, making them ideal for family meals.
- Customizable: Feel free to adjust the seasoning or serve with different sauces, tailoring the dish to your family’s taste.
- Perfect for Meal Prep: Cook a batch ahead of time and enjoy them throughout the week for quick lunches or dinners.
Recipe Overview
- Prep Time: 30 minutes (plus marinating time)
- Cook Time: 10 minutes
- Total Time: 40 minutes (plus marinating)
- Servings: 4
- Difficulty Level: Easy
Ingredients You’ll Need for Crispy Raising Cane’s Chicken Tenders
-
For the Chicken
- 1 pound chicken tenders
- 1 cup buttermilk
-
For the Coating
- 1 cup all-purpose flour
- 1 teaspoon garlic powder
- 1 teaspoon onion powder
- 1 teaspoon paprika
- Salt and pepper to taste
-
For Frying
- Oil for frying (vegetable or canola works best)
The buttermilk helps to tenderize the chicken, resulting in moist and flavorful tenders. If you don’t have buttermilk, you can easily make a substitute by mixing 1 cup of regular milk with 1 tablespoon of vinegar or lemon juice.
How to Make Crispy Raising Cane’s Chicken Tenders
-
Marinate the Chicken
Begin by marinating the chicken tenders in buttermilk for at least 30 minutes. This step is crucial for flavor and tenderness. You can marinate them longer, even overnight, for an even richer taste. -
Prepare the Coating
In a separate bowl, combine the flour, garlic powder, onion powder, paprika, salt, and pepper. This blend adds depth and flavor to the crispy coating. -
Heat the Oil
In a deep skillet or frying pan, heat oil over medium-high heat. Ensure the oil is hot enough for frying; you can test it by dropping a small amount of the flour mixture into the oil—it should sizzle immediately. -
Dredge the Chicken
Remove each chicken tender from the buttermilk, allowing excess to drip off. Dredge the chicken in the flour mixture, coating it evenly. Tap off any excess flour. -
Fry the Chicken Tenders
Carefully place the coated chicken tenders in the hot oil, frying them in batches if necessary. Cook for about 5-7 minutes, flipping occasionally, until they are golden brown and cooked through. -
Drain and Serve
Once cooked, transfer the chicken tenders to a plate lined with paper towels to drain excess oil. Serve hot with your favorite dipping sauces.
Tips for Success
- Monitor Oil Temperature: Keeping an eye on the oil temperature is key. If it’s too hot, the coating may burn before the chicken is cooked; if it’s too cool, the tenders will absorb too much oil.
- Don’t Overcrowd the Pan: Fry the chicken in small batches to maintain the oil temperature and ensure even cooking.
- Check Doneness: The chicken tenders are done when they reach an internal temperature of 165°F. Use a meat thermometer if you have one.
- Allow to Rest: Let the cooked tenders rest for a couple of minutes before serving. This helps them retain their juiciness.
Easy Variations
- Spicy Tenders: Add cayenne pepper or hot sauce to the buttermilk marinade for a spicy kick.
- Herbed Tenders: Incorporate dried herbs like thyme or oregano into the flour mixture for an added layer of flavor.
- Baked Option: For a healthier alternative, bake the tenders in a preheated oven at 400°F for about 20 minutes, flipping halfway.
- Coconut Crust: Substitute half of the flour with shredded coconut for a tropical twist on the coating.
- Veggie Dippers: Use the same coating for vegetables like zucchini or bell peppers, following the same frying process.
What to Serve with Crispy Raising Cane’s Chicken Tenders
- French Fries: Classic and always a hit, crispy fries complement the tenders perfectly.
- Coleslaw: The crunch and tang of coleslaw balance the richness of the chicken.
- Dipping Sauces: Pair with ranch, honey mustard, or BBQ sauce for added flavor.
- Corn on the Cob: This side adds sweetness and a bit of crunch to the meal.
- Green Salad: A fresh green salad provides a refreshing contrast to the fried tenders.
Storage and Reheating
- Refrigerator Storage: Store leftover chicken tenders in an airtight container in the refrigerator for up to 3 days.
- Freezer Storage: If you want to freeze them, ensure they are cooled completely and then wrap them tightly in plastic wrap before placing them in a freezer bag. They can be frozen for up to 3 months.
- Reheating: The best method to reheat is in the oven at 375°F for about 10-15 minutes to keep them crispy. Avoid microwaving, as it may make them soggy.
Common Mistakes to Avoid
- Skipping the Marinade: Marinating the chicken is key for tenderness and flavor. Don’t rush this step!
- Not Prepping Ingredients: Ensure you have everything prepped before starting, so you don’t rush during frying.
- Overcooking: Keep an eye on the cooking time; overcooked chicken can become dry.
- Not Testing Oil Temperature: Always make sure the oil is hot enough to achieve that crispy exterior.
- Ignoring Oil Cleanup: Maintain cleanliness while cooking. A messy kitchen can lead to safety hazards.
Crispy Raising Cane’s Chicken Tenders: Background & Cultural Inspiration
Inspired by the popular Southern fast-food chain, these chicken tenders are beloved for their crispy texture and flavorful seasoning. The tradition of frying chicken dates back centuries, with roots in Southern cuisine, where it became a comfort food staple. Fast food adaptations brought them into the limelight, but making a homemade version allows you to enjoy their deliciousness fresh out of the fryer, with the added benefit of knowing exactly what goes into them.
Frequently Asked Questions
Can I use chicken breasts instead of tenders?
Yes, but chicken breasts will require thinner slicing to ensure they cook evenly.
How do I store leftover tenders?
Store cooked tenders in an airtight container in the fridge for up to 3 days or freeze for up to 3 months.
Can I prepare these tenders ahead of time?
You can marinate the chicken in buttermilk the night before for convenience.
Can I bake these chicken tenders instead of frying?
Yes, you can bake them at 400°F for about 20 minutes, flipping halfway through.
What dipping sauces go well with these chicken tenders?
Popular sauces include ranch, honey mustard, BBQ sauce, and buffalo sauce, but feel free to get creative!
Final Thoughts
Crispy Raising Cane’s chicken tenders are an enjoyable dish that brings the fast food flavor home with ease. With their crunchy coating and juicy interior, they’re sure to become a favorite in your household. Skip the drive-thru and make these tenders for your next family meal or snack. Enjoy the satisfaction of creating something delicious that everyone will love!
Crispy Raising Cane’s Chicken Tenders

Enjoy delicious homemade crispy chicken tenders inspired by the popular fast food classic, perfect for any family meal.
For the Chicken
- 1 pound chicken tenders (Use fresh or thawed chicken tenders.)
- 1 cup buttermilk (Can substitute with 1 cup regular milk + 1 tablespoon vinegar or lemon juice.)
For the Coating
- 1 cup all-purpose flour
- 1 teaspoon garlic powder
- 1 teaspoon onion powder
- 1 teaspoon paprika
- to taste Salt and pepper (Adjust according to preference.)
For Frying
- Oil for frying vegetable or canola (Ensure the oil is suitable for frying.)
Marinate the Chicken
- Marinate the chicken tenders in buttermilk for at least 30 minutes, ideally longer for richer flavor.
Prepare the Coating
- In a separate bowl, combine flour, garlic powder, onion powder, paprika, salt, and pepper.
Heat the Oil
- Heat oil in a deep skillet over medium-high heat until hot enough for frying.
Dredge the Chicken
- Remove chicken from buttermilk, allowing excess to drip off, then dredge in the flour mixture.
Fry the Chicken Tenders
- Fry the coated chicken tenders in batches for about 5-7 minutes until golden brown and cooked through, flipping occasionally.
Drain and Serve
- Transfer cooked tenders to a plate lined with paper towels to drain excess oil and serve hot.
Monitor oil temperature to ensure crispy coating, and do not overcrowd the pan while frying. Allow tenders to rest before serving.