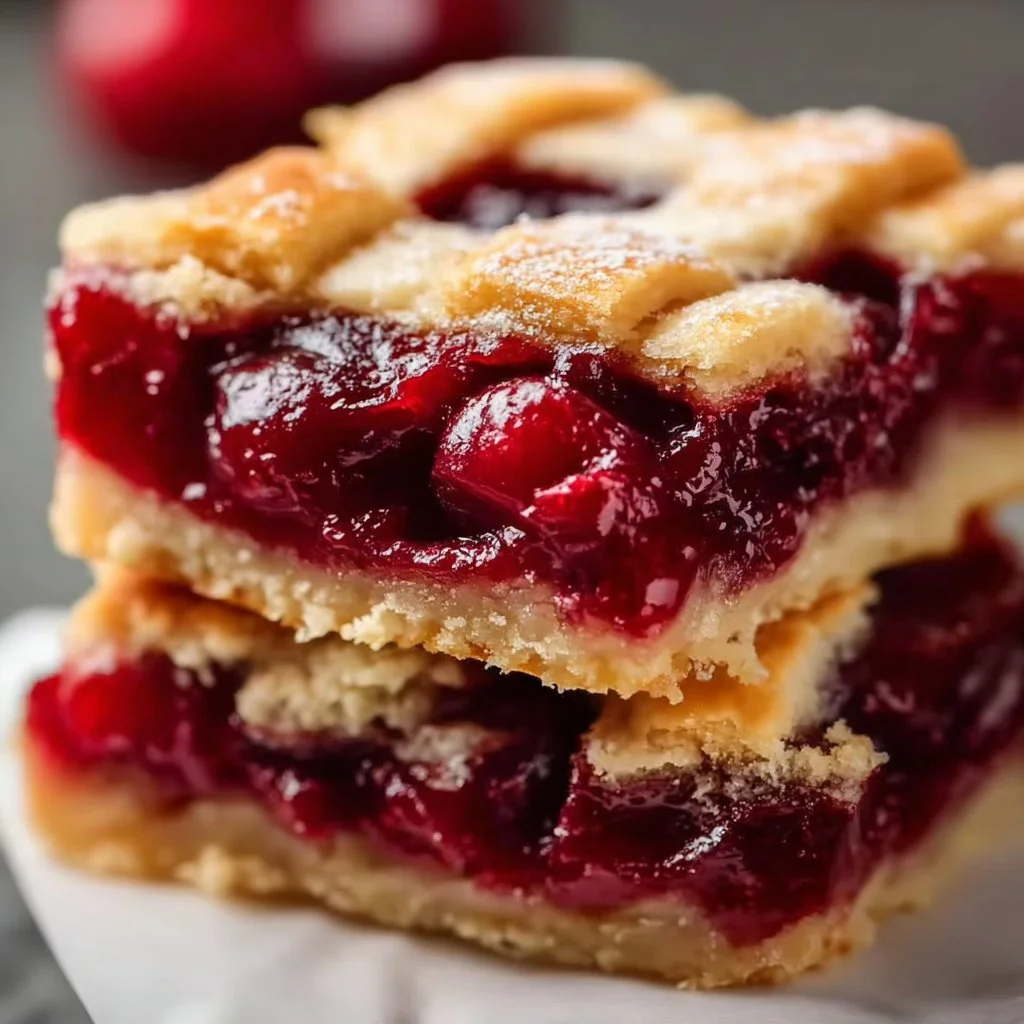
The Easy Cherry Pie Bars are a delightful treat that blends the comforting flavors of traditional cherry pie into a convenient bar form. Perfect for gatherings, these bars promise a sweet, fruity experience that requires minimal fuss. Whether you’re a seasoned baker or trying your hand at sweets for the first time, this recipe will guide you every step of the way.

Time Needed for This Recipe
Preparation Time: 15 minutes
Cooking Time: 25-30 minutes
Cooling Time: 1 hour
Total Time: Approximately 1 hour and 45 minutes
Ingredients List For Easy Cherry Pie Bars
- 1 cup softened butter (Aim for softened but not melting)
- 1 cup sugar
- 2 large eggs (Let them come to room temperature)
- 1 teaspoon almond extract (Adds a warm, nutty perfume)
- 1 teaspoon vanilla extract
- 2.5 cups all-purpose flour (Mix until crumbly)
- 0.5 teaspoon salt
- 1 can (21 oz) premium cherry pie filling (Provides a convenient and vibrant cherry layer)
- 1 cup confectioners’ sugar
- 1 teaspoon almond extract
- 0.5 teaspoon vanilla extract
- As needed milk (To achieve drizzle consistency)
Easy Cherry Pie Bars Step-by-Step Instructions
1. Preparation
- Preheat your oven to 350°F (175°C).
- Grease a 9×13-inch baking dish and set it aside.
- In a large mixing bowl, cream together the softened butter and sugar until light and fluffy.
- Add the eggs one at a time, mixing well after each addition. Then, stir in the almond and vanilla extracts.
- Gradually add the flour and salt, mixing until the batter is crumbly but holds together.
2. Baking
- Press about two-thirds of the dough into the bottom of the greased baking dish to form the crust.
- Spread the cherry pie filling evenly over the crust.
- Crumble the remaining dough over the cherry pie filling, covering it as much as possible.
- Bake in the preheated oven for 25-30 minutes or until the top is lightly golden brown.
- Remove from the oven and let it cool in the pan for about 1 hour.
3. Glazing
- In a small bowl, whisk together the confectioners’ sugar, almond extract, vanilla extract, and enough milk to achieve a drizzle consistency.
- Drizzle the glaze over the cooled cherry pie bars.
- Cut into squares and serve!

Reasons You’ll Love Easy Cherry Pie Bars:
- Quick to Prepare: Simplifies traditional pie-making for fast results.
- Perfectly Portable: Great for picnics, parties, or potlucks.
- Crispy and Chewy: Enjoy a delightful texture that balances crust and filling.
- Flavorful Combination: Cherry and almond bring a lovely taste together.
- Versatile Dessert: Perfect for all occasions, from casual to celebratory.
Easy Variations For Easy Cherry Pie Bars
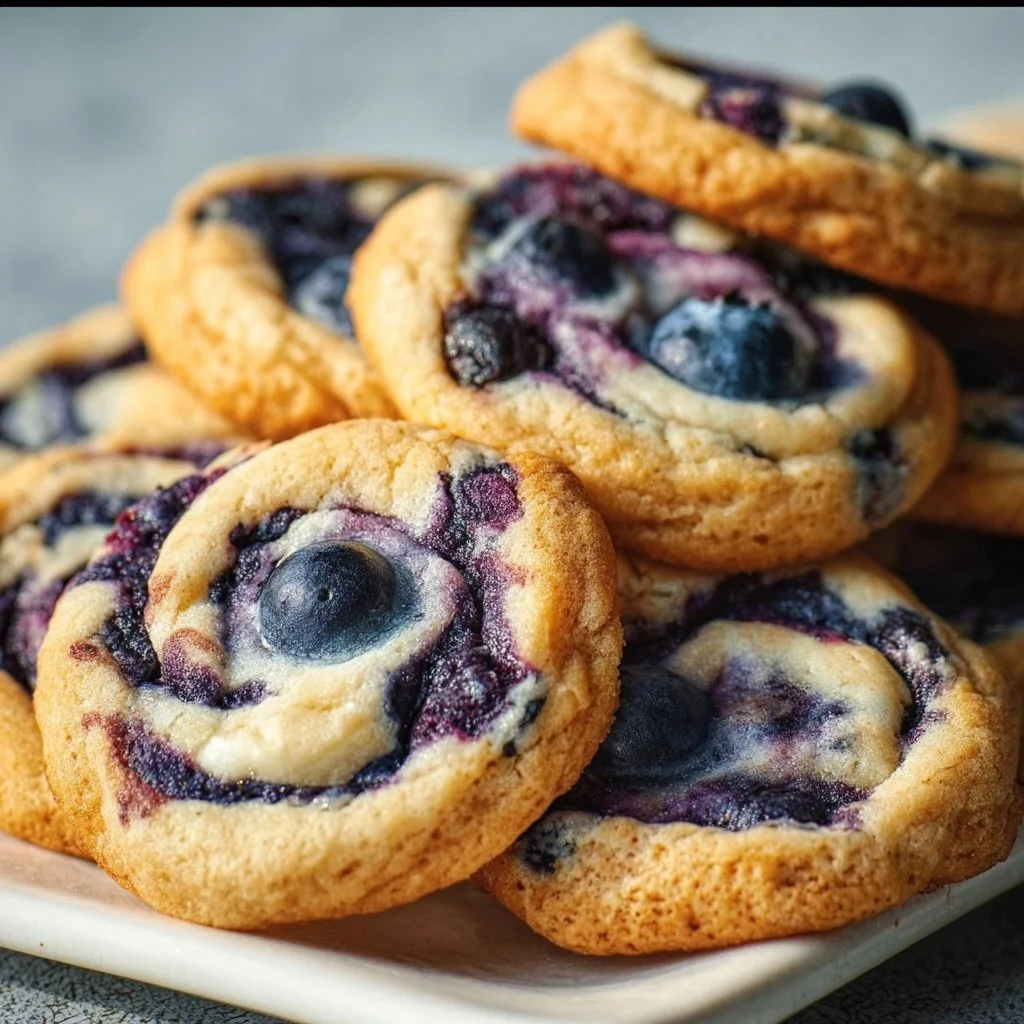
- Berry Mix Bars: Substitute cherry pie filling with a mix of blueberries and raspberries for a berry delight.
- Chocolate Cherry Bars: Add chocolate chips to the dough for a richer flavor.
- Nutty Delight: Incorporate chopped nuts into the batter for an extra crunch.
- Gluten-Free Version: Use a gluten-free flour blend for a gluten-free treat.
- Spiced Up: Add a sprinkle of cinnamon for a warm, spiced flavor profile.
How To Serve Easy Cherry Pie Bars
Serve these bars warm or at room temperature. They can be enjoyed plain or with a scoop of vanilla ice cream on the side for an extra decadent treat. Pair with fresh whipped cream for a delightful dessert experience!
How To Store Easy Cherry Pie Bars
- In an Airtight Container: Keep the bars fresh by storing them in an airtight container at room temperature for up to 3 days.
- Refrigeration: For longer storage, refrigerate in an airtight container for up to a week.
- Freezing: Freeze wrapped tightly in plastic wrap for up to 3 months.
- Thawing: When ready to eat, simply thaw at room temperature or warm up in the oven.
- Avoiding Moisture: To prevent sogginess, ensure they are cooled completely before storing.
Chef’s Notes & Pro Tips For Easy Cherry Pie Bars
- Check Your Butter: Ensure the butter is softened but not melted for the right texture in your dough.
- Room Temperature Eggs: Using room temperature eggs helps create a fluffy batter.
- Cherry Filling Choice: Choose a premium cherry pie filling for the best flavor and quality.
- Crumbly Topping: Ensure the remaining dough is crumbly for a textural contrast on top.
- Don’t Overbake: Keep a close eye on your bars as they bake to prevent over-browning.
Expert Tips for Success with Easy Cherry Pie Bars
- Use Fresh Ingredients: Fresh extracts and quality pie filling will elevate your bars.
- Chill Before Cutting: Let the bars cool completely before cutting to prevent them from crumbling.
- Customize Toppings: Feel free to top with nuts or coconut flakes for a unique twist.
- Spacing in the Pan: Leave some space while pressing the dough into the pan to allow for rising.
Easy Cherry Pie Bars: Background & Cultural Inspiration
The roots of cherry pie are deeply embedded in American tradition, often associated with summer and family gatherings. As recipes evolved, cherry pie transitioned from a full pie to bars, allowing for easier serving and enjoyment. This modern iteration retains the beloved flavors while simplifying the baking experience, making it accessible for everyone.
Easy Cherry Pie Bars: Frequently Asked Questions
-
Can I use fresh cherries instead of canned pie filling?
Yes, you can use fresh cherries. Just make sure to sweeten them to mimic the canned filling. -
What if I don’t have almond extract at home?
You can substitute with extra vanilla extract or omit it altogether for a pure vanilla flavor. -
Can I make these bars ahead of time?
Absolutely! You can make them a day before serving to allow flavors to meld together. -
Are these bars gluten-free?
They are not gluten-free, but you can easily substitute all-purpose flour with a gluten-free blend.
Wrap-Up Notes
Easy Cherry Pie Bars are a delightful addition to any dessert menu, marrying convenience with classic flavor. Whether you whip them up for everyday snacks or special events, they are sure to become a family favorite. Feel free to experiment with variations, and don’t forget to savor every bite!

Easy Cherry Pie Bars
Ingredients
For the crust and filling
- 1 cup softened butter Aim for softened but not melting
- 1 cup sugar
- 2 large eggs Let them come to room temperature
- 1 teaspoon almond extract Adds a warm, nutty perfume
- 1 teaspoon vanilla extract
- 2.5 cups all-purpose flour Mix until crumbly
- 0.5 teaspoon salt
- 1 can premium cherry pie filling (21 oz) Provides a convenient and vibrant cherry layer
For the glaze
- 1 cup confectioners’ sugar
- 1 teaspoon almond extract
- 0.5 teaspoon vanilla extract
- as needed milk milk To achieve drizzle consistency
Instructions
Preparation
- Preheat your oven to 350°F (175°C).
- Grease a 9×13-inch baking dish and set it aside.
- In a large mixing bowl, cream together the softened butter and sugar until light and fluffy.
- Add the eggs one at a time, mixing well after each addition. Then, stir in the almond and vanilla extracts.
- Gradually add the flour and salt, mixing until the batter is crumbly but holds together.
Baking
- Press about two-thirds of the dough into the bottom of the greased baking dish to form the crust.
- Spread the cherry pie filling evenly over the crust.
- Crumble the remaining dough over the cherry pie filling, covering it as much as possible.
- Bake in the preheated oven for 25-30 minutes or until the top is lightly golden brown.
- Remove from the oven and let it cool in the pan for about 1 hour.
Glazing
- In a small bowl, whisk together the confectioners’ sugar, almond extract, vanilla extract, and enough milk to achieve a drizzle consistency.
- Drizzle the glaze over the cooled cherry pie bars.
- Cut into squares and serve!